Adaptogenic Herbs: All-Natural Stress Busters
Interested in drying herbs and other botanicals to make your own DIY teas, tonics, tinctures, creams, ointments, and other items for your all-natural medicine cabinet? We can help.
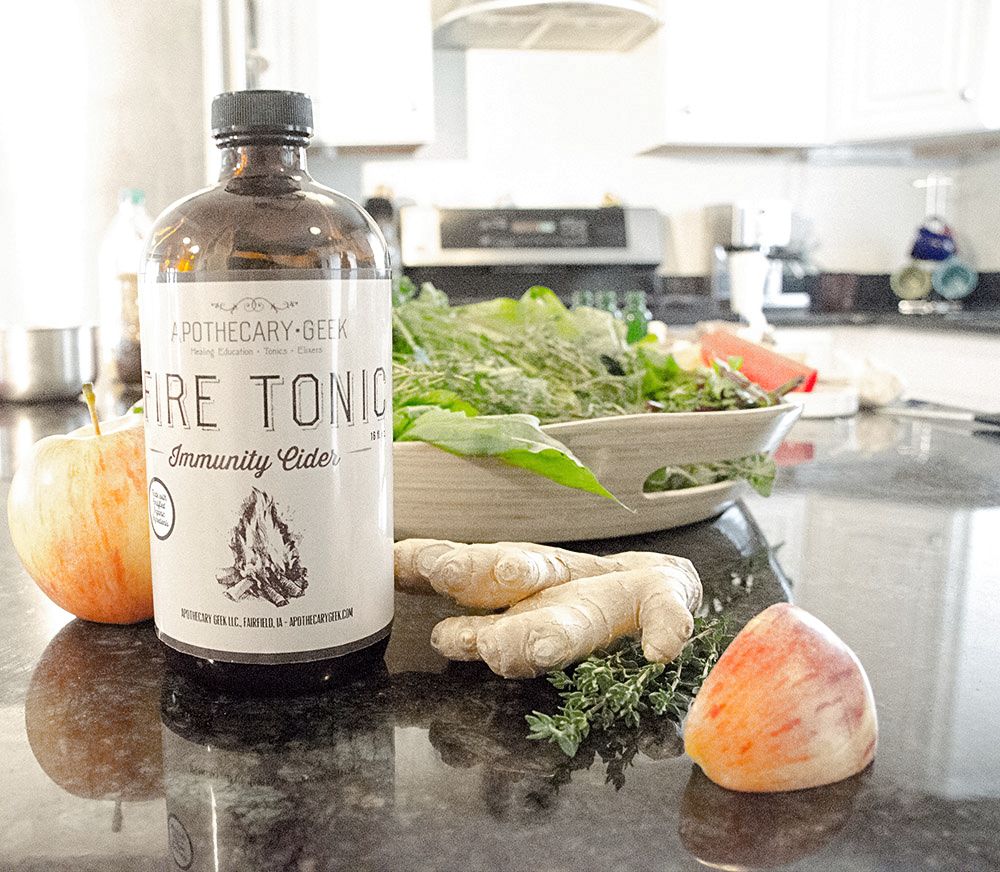
At Apothecary Geek, we use both fresh and dried organic botanicals in our signature wellness tonics. There are benefits to using both, though dried botanicals tend to be more potent and concentrated, which means a little goes a long way. We’ve learned some herb-drying tips, tools, and tricks along the way and have compiled the best ones here as a handy resource for all your kitchen adventures.
1. Indoor Air Drying
This is probably the easiest way to remove moisture from botanicals; all you need is a bit of healthy air circulation. Tie your stems in bundles and hang the herbs upside down in a warm, dry spot (avoid kitchens, which can be a bit moist). It can be helpful to cover the bundle in muslin, a mesh produce bag, or a paper bag with several holes, and secure it around the base. (Gifting Tip: Carol Costenbader, author of The Big Book of Preserving the Harvest, suggests making air-dried herb bundles into gifts by using pretty ribbons and decorative hole punchers.) Herbs can take a few hours to several days to dry fully.
There are benefits to using both, though dried botanicals tend to be more potent and concentrated, which means a little goes a long way.
2. Solar Drying Herbs
Live in a warm, dry place? Solar drying is another great option. Check your weather report: the ideal solar food-drying conditions are 100 degrees Fahrenheit and 60 percent humidity or less.
Solar drying can be as low-tech as placing drying screens outside until your herbs are brittle (but bring them in at night to avoid moisture and pests). You can also dry the herbs under the windshield or rear window of your car on a hot day (the glass creates a mini greenhouse effect). Another option is to make a DIY solar food dryer with stackable drying screens, a glass top to trap radiation, and an absorber plate to transmit heat (a vent for air circulation is useful, too). For more tips, check out this helpful article in Mother Earth News on how to Build a Solar Food Dehydrator.
Word to the wise, though: when using the sun’s heat to dry herbs, be mindful not to expose the plants to too much direct sunlight, as this could cause them to bleach.
If you’re serious about batch-drying herbs in any quantity, you might want to ditch the screens and invest in a machine. Our logic: any tool that reliably turns out a good product and saves you time and money is well worth its cost. With that in mind, food dehydrators range in price from $30 to $400; for most of us, the ones in the $100-$200 range will be the best choice. Quality dehydrators have handy features such as timers and adjustable temperature controls, both of which make the whole process much easier. And if you keep the unit stored in a convenient spot, you’ll probably use it more often and recoup its cost in a season or two of grocery savings.
Most dehydrators have a temperature control mechanism—ideally one you can adjust—and a fan to circulate air. Round models with multiple stacking trays are the most energy-efficient, in our experience. Box-type models that allow you to remove some of the trays can be particularly helpful for drying large items and can also come in handy when proofing homemade bread dough or culturing your own yogurt (um, yum!).
4. Oven Drying Herbs
Drying herbs in an oven sounds easy at first, because most of us have one and know how to use it… but it’s actually the most labor-intensive and least energy-efficient method out there! Herbs need to be dried at about 100 degrees, but most ovens don’t go that low. What’s more, herbs also need air circulation, and some ovens don’t have vents.
If you go this route, you’ll simply need to get an oven thermometer and experiment. Try turning the oven on warm or its lowest setting for a while, then turning it off (while leaving the light on). Make careful note of how long it takes for the temperature to drop to 100 degrees and how long it stays at that temperature. You can also try propping the door open slightly with a wooden spoon.
Herbs are far easier than fruits and vegetables to oven-dry, because they dry more quickly and are more forgiving. If you plan to use your oven for food dehydration, we definitely recommend starting out with herbs. Layer them on a piece of cheesecloth over a wire cooling rack to allow for air circulation all around, and place the rack in the middle of the oven when the temperature is about 100 degrees.
5. Microwave Drying Herbs
Any regular ol’ microwave can successfully dry herbs, but it’s important to note that food-drying experts do not recommend it for drying foods that contain more moisture (like tomatoes). Generally speaking, it’s easier to air dry herbs or use an electric dehydrator.
If you’re going to try the microwave approach, simply strip the leaves off of a plant’s stems and place the leaves between a few layers of paper towels. Begin on high power for 1 minute, allow a 30-second rest, and then alternate between 30 seconds on high power and 30 seconds of rest. Most herbs should dry fully in 10 minutes or less.
6. Refrigerator Drying Herbs
Another super-simple method of drying herbs basically amounts to neglect. Simply stick your herbs in the fridge sans packaging and forget about them for a few days. This handy tip was discovered by the late herb authority Madalene Hill and her daughter, Gwen Barclay, who contributed to Mother Earth News 20 years ago. By accident, the mother-and-daughter duo discovered that herbs left alone in a cold, dry refrigerator dry beautifully crisp and retain their color, flavor and fragrance. Who knew?!
Any tips to add to this list? We’d love to hear from you. Drop us a line in the comments section below to share your thoughts.